
The Live-Fire Starter Guide: your first cook over real fire
By The GetBackyarding crew · Reviewed by Erik, pitmaster and owner
Published September 22, 2026
Short answer
Light a chimney of dense hardwood lump, let it ash over, and rake the coals into a deep sear zone and a thin finishing zone. Cook over coals — never flames — move food to the cool side when fat flares, and rest everything five to ten minutes before slicing.
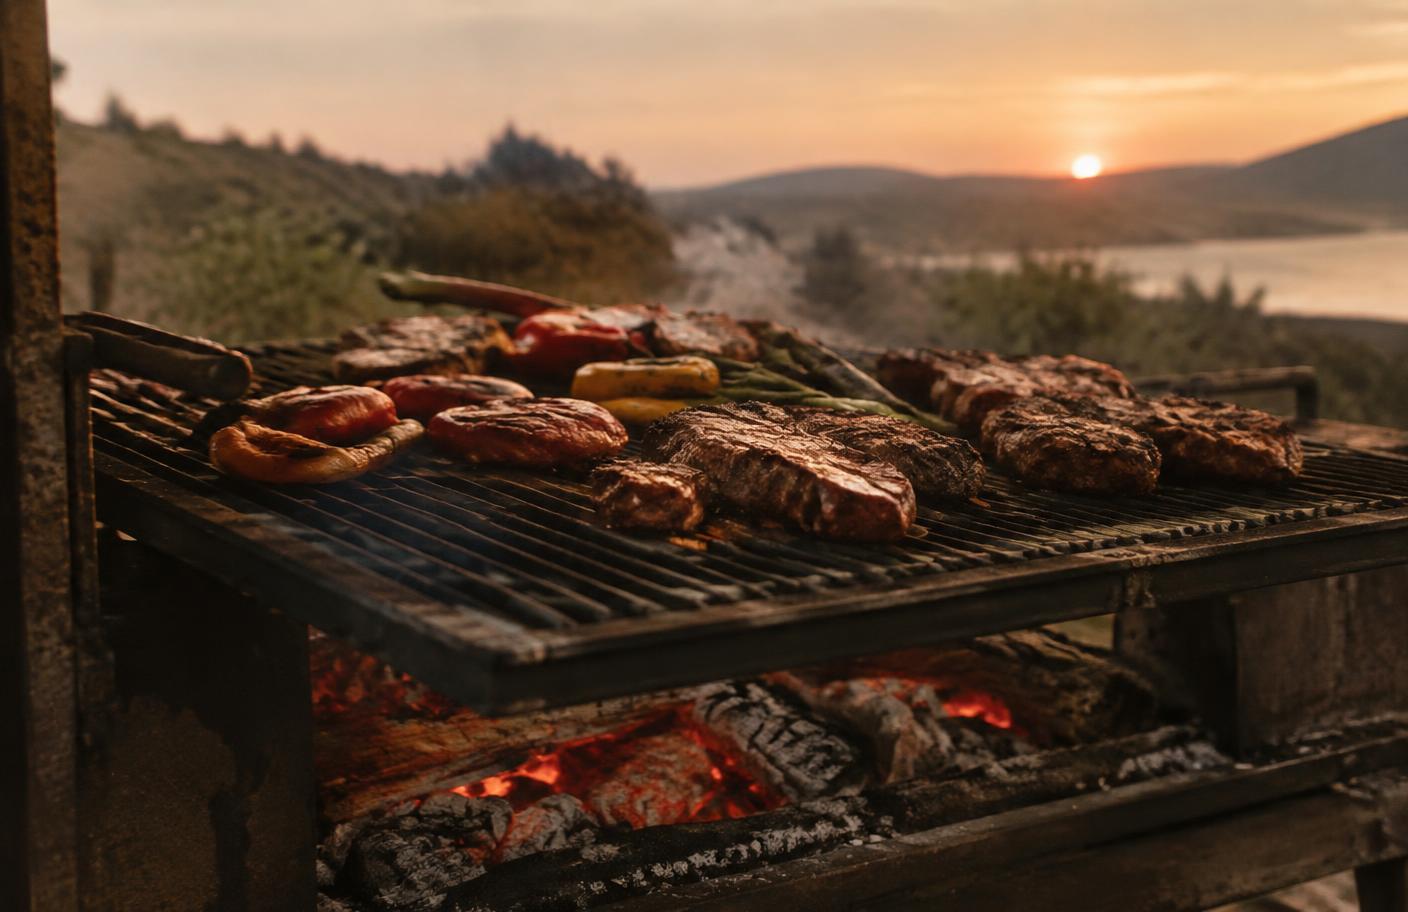
Cooking over live fire is older than every appliance in your kitchen, and it is far simpler than it looks. You are doing one thing: turning wood or charcoal into a bed of glowing coals, then putting food the right distance above it. Everything else in this guide is detail on those two steps.
Start with the short list of gear. A cooker with an adjustable grate, a chimney starter, a pair of long tongs, heavy welding-style gloves, an instant-read thermometer, and a bag of dense hardwood lump charcoal or a few seasoned splits. That's it. You do not need a gas assist, a rotisserie, or a pellet hopper to cook a great steak on your first night.
Build the fire about 45 minutes before you plan to eat. Fill a chimney with lump, light two sheets of newspaper or a wax starter underneath, and leave it alone until the top coals are ashed over and glowing. If you're burning splits, let them burn down until the flames drop and you're left with orange coals — flames make soot, coals make dinner.
Rake the coals into zones. Pile two-thirds of them under one half of the grate and spread a thin layer under the other half. The deep side is your sear zone, hot enough that you can hold a hand six inches above it for only two seconds. The thin side is where food finishes gently without burning. Nearly every live-fire mistake is solved by moving food to the cool side.
Learn the grate height. On an Argentine or Santa Maria grill, the crank or chain is your temperature dial: low and close for a fast crust, high and slow for thick cuts, poultry, and anything with sugar in the rub. Raise the grate the moment fat starts to flare — do not spray water on your fire.
Three first cooks that always work. One: a thick ribeye, salted an hour ahead, seared two minutes per side over the deep coals, then moved to the cool side until it reads 125°F. Two: chicken thighs, skin up on the cool side for twenty minutes, then skin down over the coals for two. Three: whole vegetables — peppers, onions, scallions — laid straight on the grate and turned until they blister.
Rest everything. Five to ten minutes off the fire lets the juices settle and the carryover heat finish the center. This is the step new fire cooks skip and the one that makes the biggest difference.
Clean while it's hot. Brush or scrape the grate right after you pull the food, close the vents if your cooker has them, and let the coals die out on their own. Ash gets shoveled cold, into a metal can, never a plastic bin.
Do this four or five times and you'll stop reading temperatures off a chart and start reading the fire itself — the color of the coals, the sound of the fat, how long your hand will stay over the grate. That is the whole craft, and a single weekend gets you most of the way there.
Gear from this guide


Questions we get
- What gear do I actually need to start?
- A cooker with an adjustable grate, a chimney starter, long tongs, heavy gloves, an instant-read thermometer, and a bag of dense hardwood lump. Nothing else is required for a great first cook.
- How do I know the fire is ready?
- The coals are glowing orange under a gray ash coat and the flames have dropped. Over the sear zone you should only be able to hold a hand six inches above the grate for about two seconds.
- What should I cook first?
- A thick ribeye, chicken thighs, or whole vegetables laid straight on the grate. All three are forgiving and teach you how the two heat zones behave.
- How do I stop flare-ups?
- Raise the grate or move the food to the cool side. Never spray water on a cooking fire — it kicks ash onto your food and cracks hot steel.